
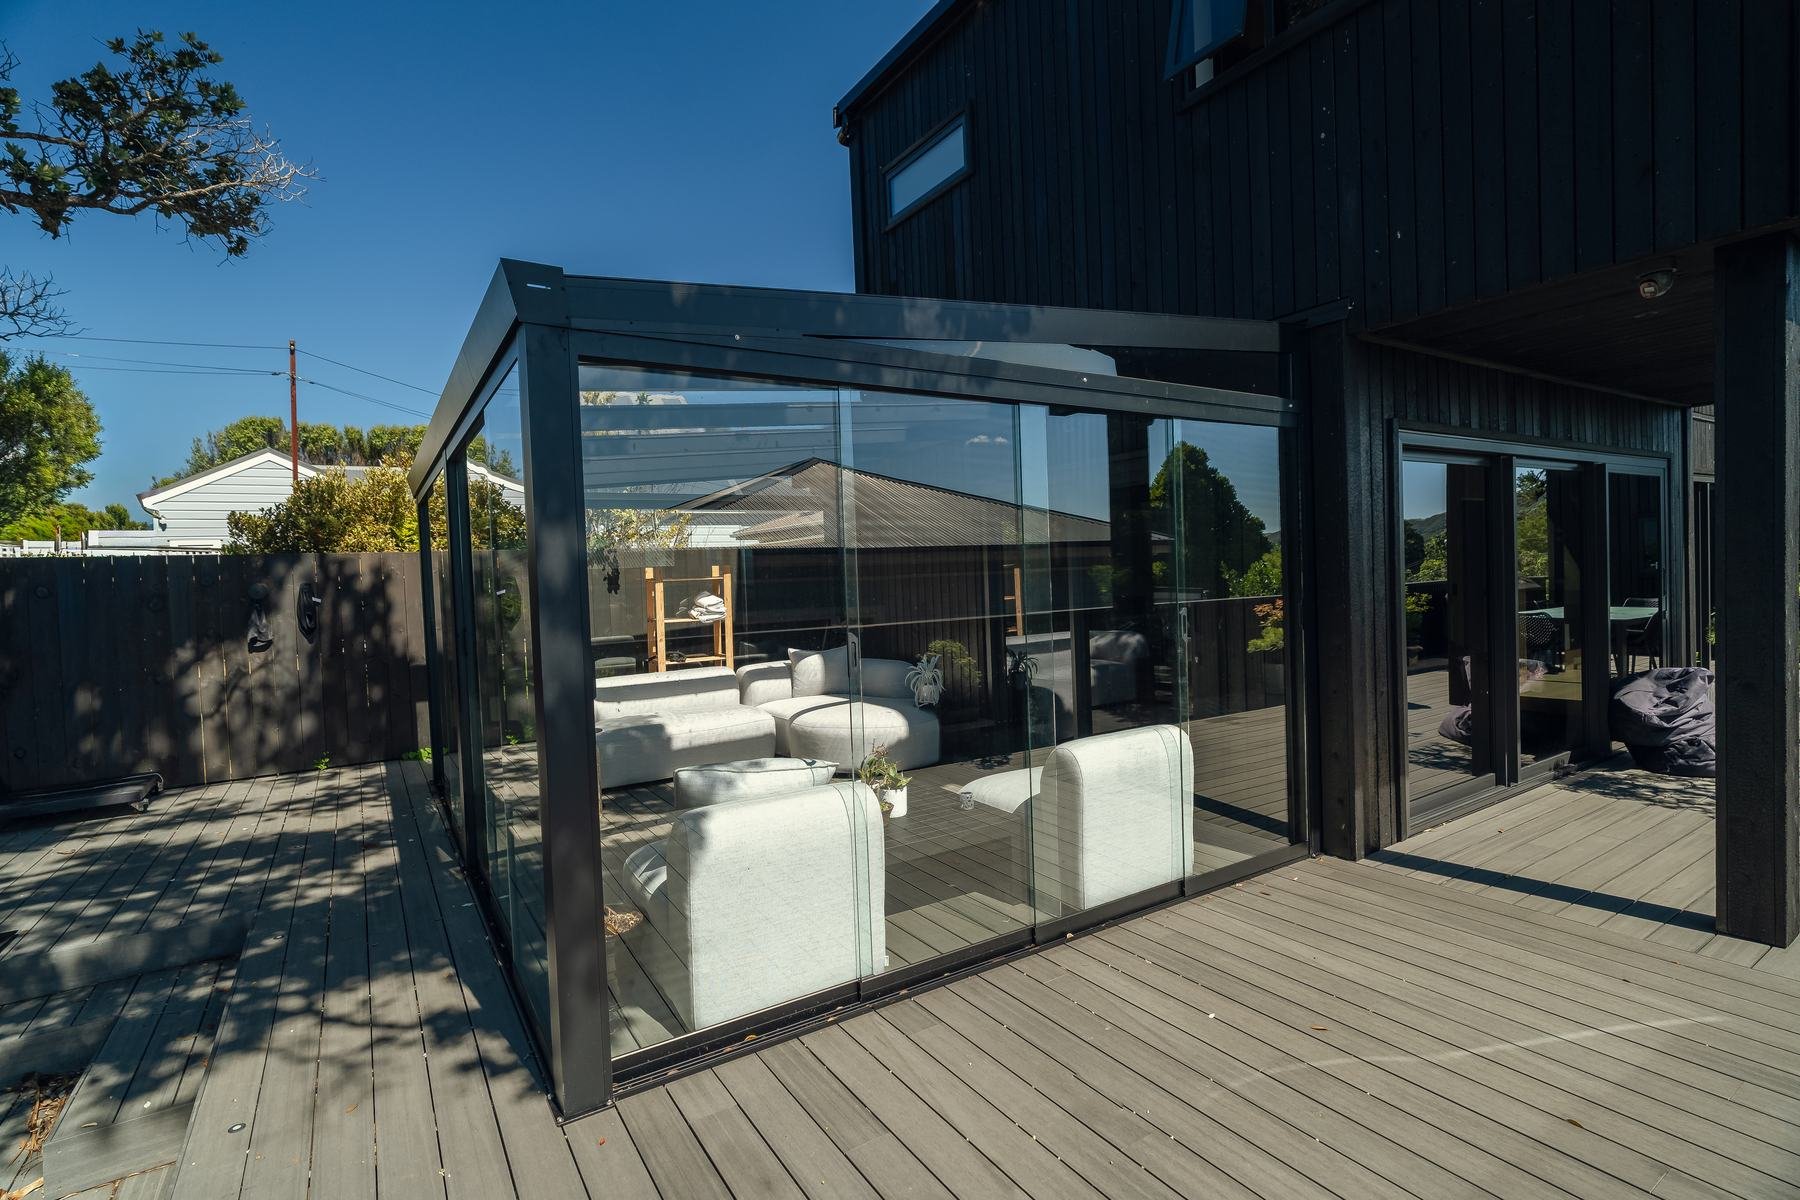
Before you commit to an outdoor structure, it helps to know exactly what will happen and when. Here is how an Impact Outdoors project runs, from your first enquiry to the day we hand it over.
Step 1: Your enquiry
It starts with a phone call to your local branch or a quote request on our website. Tell us roughly what you have in mind - a covered deck, a louvre roof, a sunroom, blinds - and where you are. Your enquiry goes to the branch closest to you, which handles your project from start to finish.
Step 2: Free onsite measure
We visit your property to measure up and look at the site properly. This is where we check:
- How you want to use the space, and when.
- Sun direction, wind exposure and drainage.
- Where the structure can fix to the house, or whether it needs its own posts.
- Access for the installation team, ground conditions and any existing paving or services.
- Colours and finishes - we bring samples so you can see them against your house.
Step 3: Design and written quote
You receive a detailed written quote: the exact product, size, materials, roofing and finish, the wind and snow ratings, the warranty, and what is included and excluded. Everything is built to your measurements rather than a fixed kit size. If you want to compare options - a fixed canopy against an opening louvre roof, for example - we can quote both.
Step 4: Consent check
Before anything is ordered, we check whether your project needs building consent. Open pergolas are exempt under Schedule 1 of the Building Act 2004, and many roofed covers are too if they fit the awning or carport size limits. Larger structures and many sunrooms need consent. Where consent is needed, the council's processing time is built into the timeline, and manufacturing can often run alongside it.
Step 5: Final sign-off
Once you are happy with the design, colours and price, you sign off. For a standard project, the measure and final design sign-off usually happen within the first week.
Step 6: Manufacturing
Your frame and roofing are made to your exact dimensions. Manufacturing typically takes two to four weeks for a standard Elite Canopy. Custom shapes and special finishes can take longer. We confirm your installation date once the materials are ready.
Step 7: Installation
Our installation team sets out the posts, installs the frame and fits the roof. A standard single-bay Elite Canopy often takes one to two days on site once the materials arrive.
- Opening louvre roofs take longer, because the motor, controls and any lighting are wired and commissioned, and a registered electrician signs off the electrical work.
- Sunrooms involve glazing and sealing on every side, so they take longer again.
- Outdoor blinds are often fitted in a single visit.
Exterior aluminium and glazing work is paused in heavy rain or high wind for safety, so the weather can move dates.
Step 8: Handover
When the job is finished, we walk you through the structure. For an opening louvre roof that includes how the controls, rain sensor and lighting work. You get your warranty details - our Elite Canopies, opening louvre roofs and sunrooms carry a 10-year structural warranty - and simple care advice: keep the gutters and post outlets clear, and wash the frame with mild soapy water.
After the install
Keep your quote, invoice and warranty information together. If anything needs attention later, photograph it and contact your local branch.
When to start
Spring and early summer are the busiest months for installations. Booking your measure in late winter or early spring gives you the best chance of having the structure ready for summer.
How long does installation take? What warranty should you expect? Get a free onsite quote